Eachine ATX03S VTX with audio and smart audio
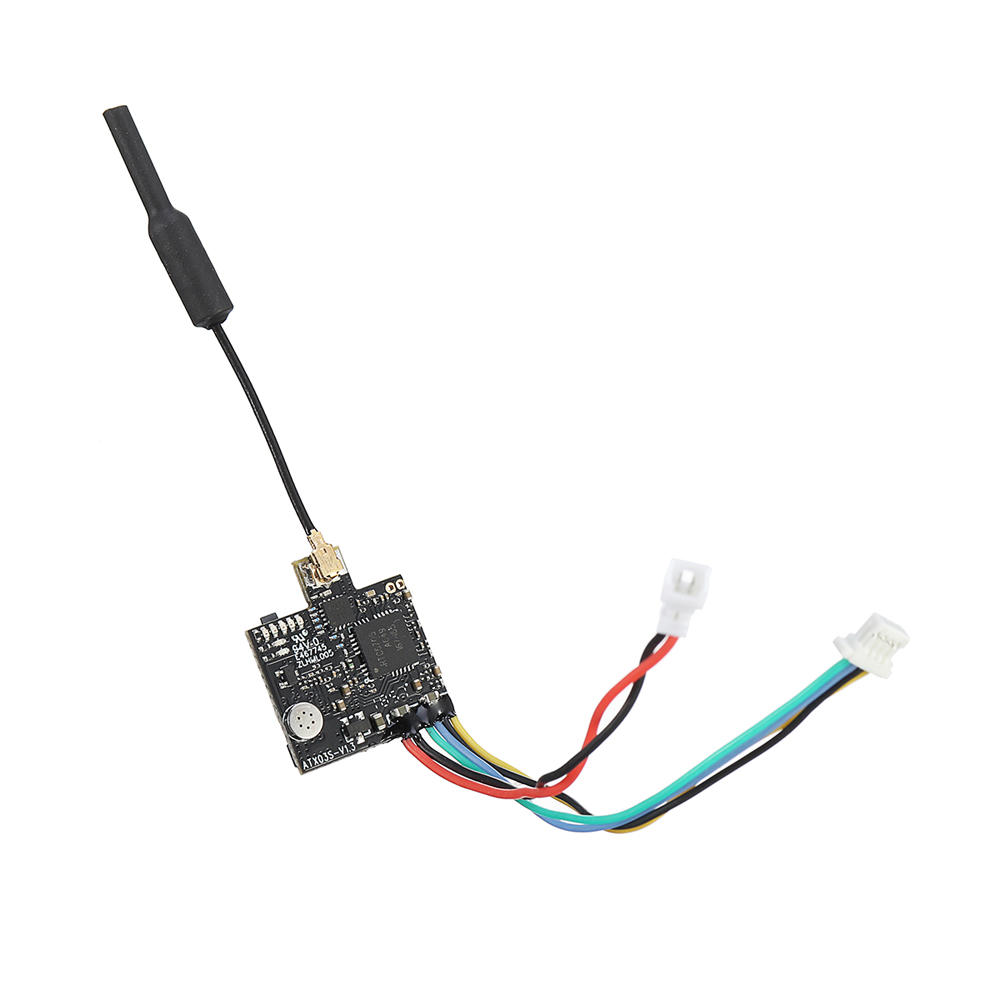
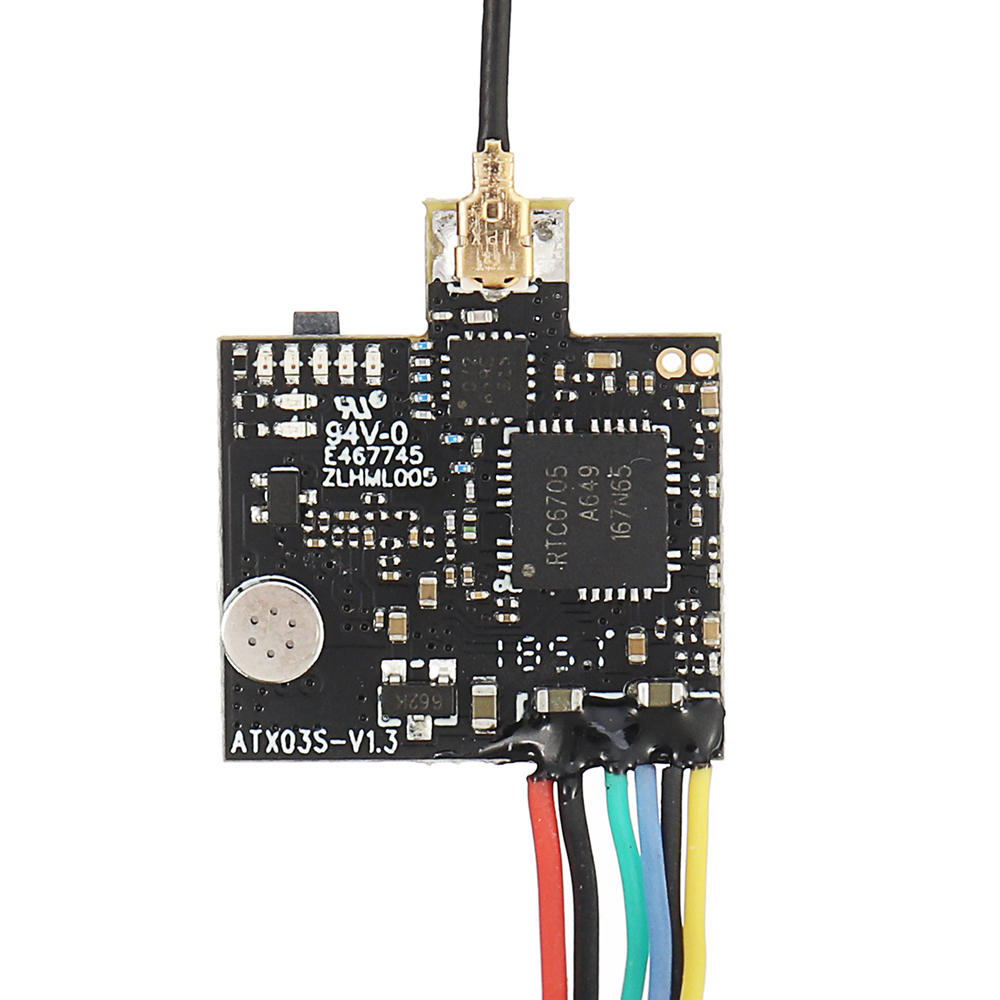
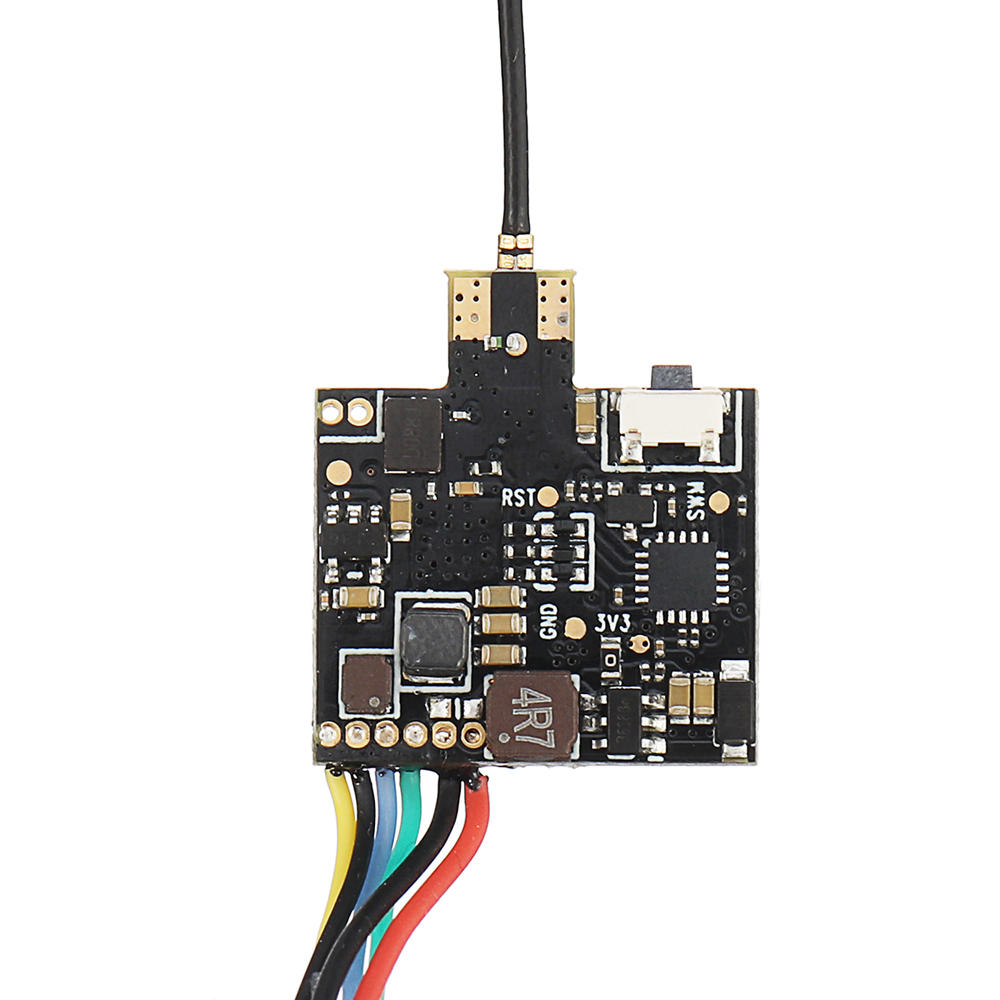
Eachine has just listed the newest video transmitter – ATX03S. This VTX is the next developement in the Eachine small VTX series. Eachine ATX03S got my attention as it ticks allmost all my needs. It is small (19x16mm), lightweight (less than 3g), has Smart audio and microphone on board. It has small LED’s instead of the 7 segment display that saves the weight and space on the board to accommodate the microphone. Power output is selectable from 25mw/50mW/100mW/200mW. And it also has Pit mode with 0.01mW RF power output. I really hope it’s RF power output is more calibrated to the specfication than the VTX03S (read the VTX03S review).
This VTX should fit perfectly into ultralight micro quadcopters or even brushless whoops, like Mobula7.
Available @ Banggood: https://www.banggood.com/Eachine-ATX03S-5_8GHz-40CH-25mW50mw200mW-Switchable-FPV-Transmitter-Smart-Audio-Mic-for-RC-Drone-p-1427187.html
Description:
Item name: Eachine ATX03S Mini FPV Transmitter
Output power: 25mW/50mW/100mW/200mW adjustable
Input voltage: 3.3V-5V
5V camera supply, 245mA(MAX)—–25mW@4.2V (Typical)
5V camera supply, 310mA(MAX)—–50mW@4.2V (Typical)
5V camera supply, 390mA(MAX)—–100mW@4.2V (Typical)
5V camera supply, 517mA(MAX)—–200mW@4.2V(Typical)
Video format: NTSC/PAL
Antenna dimensions: 55mm X 2mm diameter
Antenna: IPEX
Frequency: 5.8GHz 5 bands 40 channels
Size: 19x16mm(LW)
Weight: 2.9 g
Features:
* Support 0.01mw Parameter-adjusting Mode.
* 25mW, 50mW, 100mW and 200mW power switchable.
* One button frequency and power setup.
* OSD configuration using smart audio.
* Onboard mic.
Button control channel select mode Channel select
Select 8 channels by simple short presses.
Green LED light on stands for CH1,short presses to change 8 channels sequentially.
For CH2/3/4/5/6/7/8, Green LED flicker once it won’t light on
Notice: Green LED only light on for CH1.
Band Select
Press button for 2s,Red LED will flicker,then short presses to select 5 band A/B/E/F/r sequentially.
Notice: Red LED1 only light on for Band A.
Power select
Press button for 4s,Blue LED will flicker,then short presses to select power 25mW/50mW/100mW/200mW sequentially. For 50mW/100mW/200mW, Blue LED flicker once, it won’t light on
Notice: Blue LED only light on for 25mW.
Pit Mode(0.01mW)
While in Pit Mode you can change channels and set power levels, but none of these changes will take effect until you quit Pit Mode. By default, Pit Mode will send a very weak signal
Related Posts
-
 BetaFPV SuperG NanoTX – first dual diversity ELRS TX
BetaFPV, in collaboration with the ELRS developer team, has unveiled another first in the
BetaFPV SuperG NanoTX – first dual diversity ELRS TX
BetaFPV, in collaboration with the ELRS developer team, has unveiled another first in the -
 Radiomaster Pocket Radio
Radiomaster has unveiled its latest creation, the Radiomaster Pocket Radio, a compact but feature-packed
Radiomaster Pocket Radio
Radiomaster has unveiled its latest creation, the Radiomaster Pocket Radio, a compact but feature-packed